CPI content migration to Cloud Foundry environment – Part 2
Part 2
Test migration with Int4 IFTT
In this article you will learn:
- How to complete your migration and test your integration scenarios after migrating the content from Neo to Cloud Foundry environment[/list][/panel]
In Part 1 – Migrate with Postman step-by-step you’ve seen how to perform content migration using postman collections prepared by SAP. Now it’s time for completing the process and testing the migration with Int4 IFTT!
Post-processing
- Upload new tenant’s load-balancer certificate in sender system
You need to ensure that new tenant can authenticate itself in the sender systems by uploading the load-balancer certificate. For details you can refer to the blog.
- Outbound connection test[/list]
Next step is the validation that outbound connectivity with receiver systems is working as expected. You can perform this by navigating to tile Connectivity Tests in the operations view.

Integration Suite – Connectivity Tests tile
If you encounter issues during connectivity tests you have to make sure that valid server certificates exist in the tenant’s keystore. Last, but not least during this phase is the adaptation of endpoint URLs of your integration flows in the sender systems. Note, that this step is not required if you’re using Custom Domains.
Testing with Int4 IFTT
To guarantee that all your integration scenarios work as expected after migration you can perform testing using Int4 IFTT. Refer to the Int4 IFTT OpenSAP training and our blogs for more details regarding the tool!
Follow the steps below to test your new CPI Cloud Foundry environment.
Int4 IFTT environment setup
In order to test your scenarios after migration you need to create a new test environment in the Int4 IFTT for your Cloud Foundry tenant. First, you need to create a new destination to your tenant management node and runtime node in SM59 and test the connection.
You can find your runtime node URL in the Process Integration Runtime service key.

Sap Cloud Platform Cockpit – Process Integration Runtime Service Key
You can also find the runtime node URL in the Integration Suite operations view by checking the endpoint of deployed Integration Flow.
Tenant management node URL is the one you’ve been provided with once Integration Suite tenant is provisioned. For destination configuration you must use the URL without the \itspaces suffix.
You can then proceed to creation of test environment:
- Enter transaction /n/int4/iftt_img and navigate to Landscape Configuration -> Define Environments
- Add new entry for your tenant. Fill in the Environment name, description and mark checkbox ‘CPI’

Int4 IFTT – Create New Environment
After your environment is created proceed to the adjustment of global parameters:
- Navigate to Configure Global Parameters
- Set a global parameter of your Environment “SAP CPI – Cloud Foundry Environment” with value “X” to indicate that test cases will be executed on the Cloud Foundry tenant
- Provide names of Management node and Runtime node destinations previously created in SM59
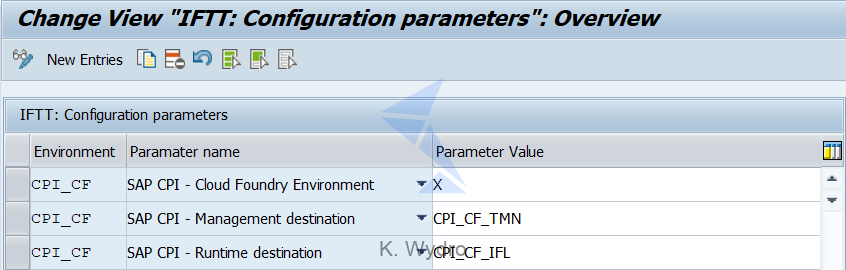
Int4 IFTT – Set Cloud Foundry Environment parameter
What’s next?
That’s all – you can start the testing! You can reuse existing automation objects and test cases you’ve been using on your CPI Neo tenant before migration.
In order to execute the test case, you need to activate the CPI trace for corresponding integration scenarios. In the Neo environment this is done automatically, however in case of the Cloud Foundry CPI tenant, the behavior is slightly different, and you must perform this activity manually. When activating the trace with option Activate CPI trace in the Int4 IFTT test cockpit, you will be redirected to the browser and you must switch the trace on manually for the given integration flows. The pop-up will appear which will open the browser for you:

Int4 IFTT – CPI trace activation dialog
Make sure Log Level is set to Trace.
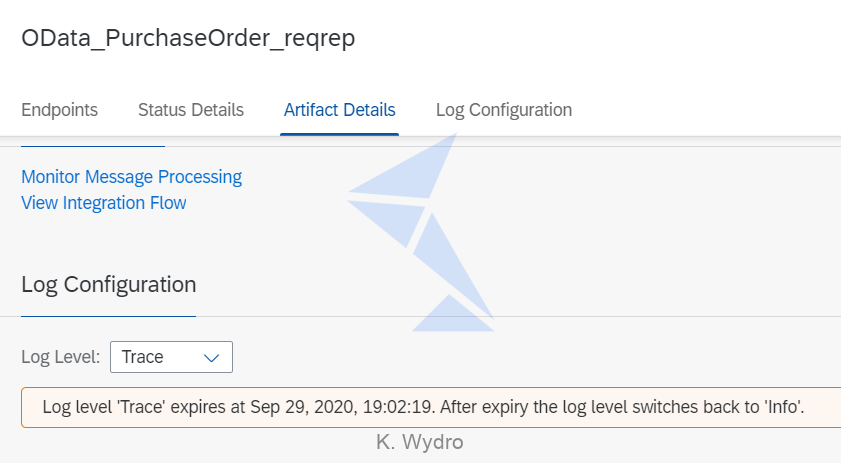
Integration Suite – trace activation
When the trace is active you can simply execute test cases on the new environment by selecting the option Execute selected on other Environment as per the screenshot below.

Int4 IFTT – Execute test case on other environment
Then, choose your new testing environment and confirm.
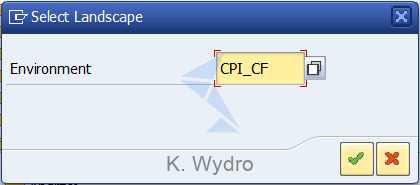
Int4 IFTT – Select CPI Cloud Foundry environment
You will see the test case result summary and the comparison of the output message with the payload stored in the test case.
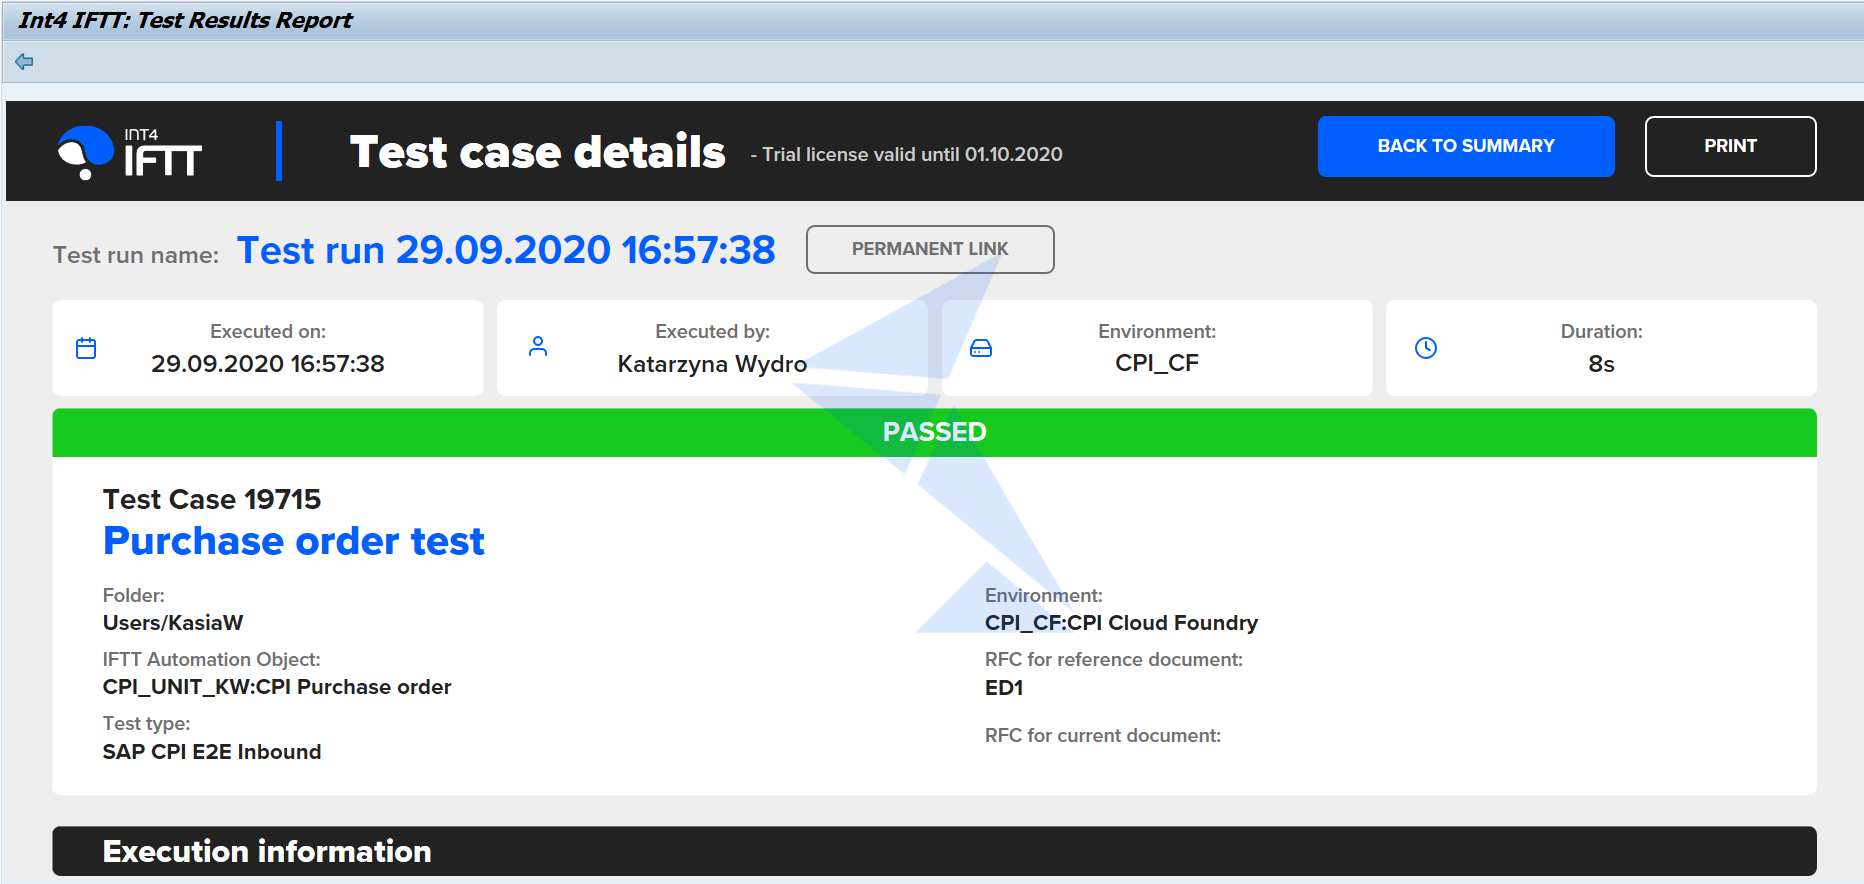
Int4 IFTT – Test case overview
The flow which is being tested in this article pulls the data of purchase order with request-reply. As you can see, the message after test case execution is identical with the referenced one.
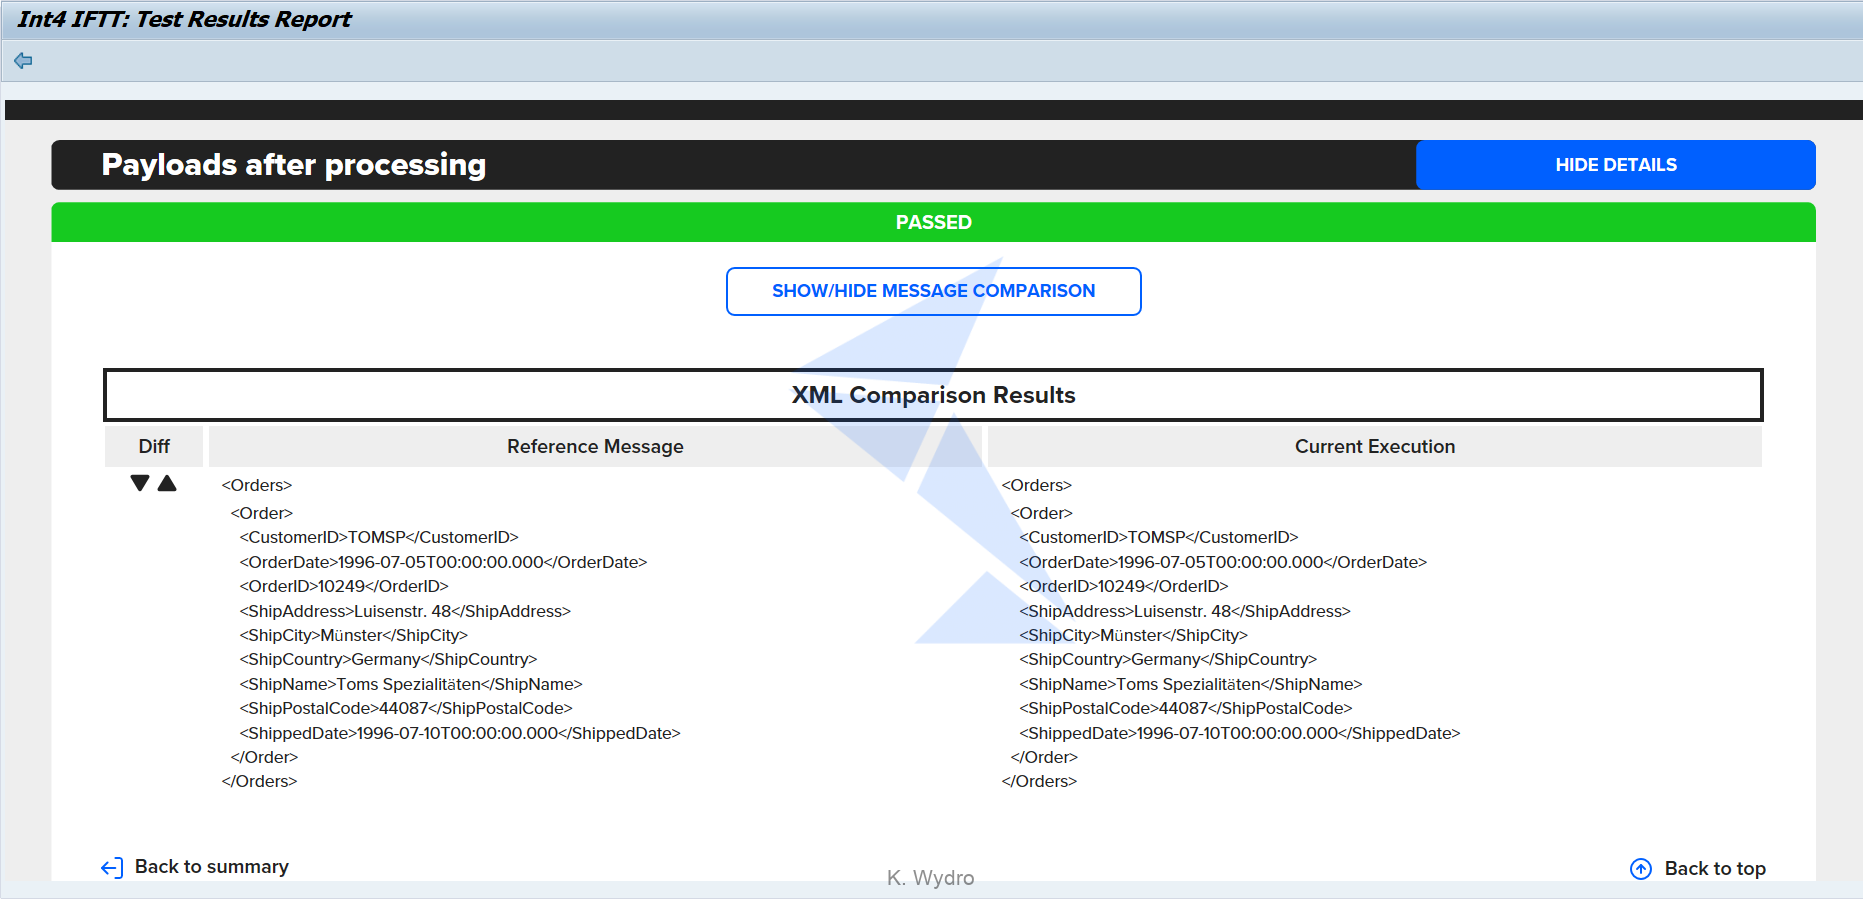
Int4 IFTT – Test case messages comparison
In this way you can ensure that all your CPI integration scenarios are working exactly as in the Neo environment.
Summary
In this blog I’ve shown you how to configure a new testing environment and how easily you can reuse existing Int4 IFTT test cases to ensure your migration was successful. Now you should have a complete overview on how to conduct this process.
Read also
Popular tags
ABAP int4 INT4 IFTT Int4Interview S/4HANA SAP AIF SAP CPI sap integration